Analyzing Employee Relationships using neo4j
At my company, employees can give each other ‘badges’ to show appreciation for good work. These badges have both a type (for example, ‘Leadership’ or ‘Team Work’) and some text to go into more detail. I’ve been learning about the graph database neo4j and thought it would be an interesting use case to load some historical badging data in and see what kind of insights I could extract from it.
In this post, I’ll cover how I prepared my dataset for loading into neo4j and then go into some of the insights I pulled out of the data. To learn more about neo4j, check out the fantastic documentation. For now, I will give a brief introduction to the major concepts.
neo4j Concepts #
In a neo4j database, there are nodes (vertices) and relationships (edges) between those nodes. A node can be a person, a server, a movie, etc. Relationships are used to connect nodes. For example, a person (say, Nicholas Cage) and a movie (The Rock) – two nodes – are in a relationship: Nicholas Cage acted in The Rock.
Both nodes and relationships can have labels (like a data type) and attributes (key/value pairs). Our Nicholas Cage node could have a label of Person (or Actor), and a Name attribute. Our node for The Rock could have a label of Movie and two attributes: Title, Released. We could put a label on the relationship of Acted In, and an attribute of Role.
To complete this whirlwind introduction to neo4j, I’ll introduce Cypher, a query language that allows us to describe patterns in our data and create nodes and relationships in the database to reflect those patterns. The Cypher statements to create our 2-node graph of Nicholas Cage and The Rock are:
CREATE (:Person {name: "Nicholas Cage"})
CREATE (:Movie {title: "The Rock"})
Nodes in Cypher are surrounded by parentheses. The colon is used to specify a label, and the attribute key/value
pairs are surrounded by curly brackets. To create a node, add CREATE before the node specification.
Relationships in Cypher are represented with dashes. Cypher can encode both undirected and directed relationships by prefixing or suffixing arrowheads. While details for nodes are surrounded by parentheses, the details for relationships are surrounded by square brackets.
To show one of Nicholas Cage’s greatest achievements in Cypher:
MATCH (p:Person {name: "Nicholas Cage"})
MATCH (m:Movie {title: "The Rock"})
CREATE (p)-[:ACTED_IN {role: "Stanley Goodspeed"}]->(m)
The purpose of the first two match clauses is to identify the nodes we want to put in a relationship and bind them to variables that can be used in creating the relationship at the end. The arrowhead at the end of the statement indicates the direction. It’s a little bit like ASCII art.
After looking at the organization of the data, I’ll cover the Cypher statements used to load it.
The dataset #
| Awardee | Badger | Title | Text | Year | Month |
|---|---|---|---|---|---|
| Silly Meitner | Romantic Curran | Team Player | Exercitation anim minim magna nostrud elit fugiat voluptate fugiat. | 2016 | 12 |
| Prickly Mccarthy | Backstabbing Bell | Team Player | Eu consequat reprehenderit tempor velit cillum. | 2016 | 12 |
| Admiring Euclid | Grave Goodall | Great Work | Id elit ad proident cillum esse cupidatat aliquip. | 2016 | 12 |
| … | … | … | … | … | … |
| … | … | … | … | … | … |
Converting to Cypher #
I wrote a quick program to convert this spreadsheet into the appropriate Cypher statements.
Each row in the spreadsheet is transformed into three Cypher statements similar to the ones described above in the movie example:
MERGE (:Person {name: "Name 1"})
MERGE (:Person {name: "Name 2"})
MATCH (p1:Person {name: "Name 1"})
  MATCH (p2:Person {name: "Name 2"})
  CREATE (p1)-[:BADGED {title: ..., text: ..., unixtime: ..., date: ...}]->(p2)
For example, given line 1 of the spreadsheet excerpt above:
MERGE (:Person {name: "Silly Meitner"})
MERGE (:Person {name: "Romantic Curran"})
MATCH (p1:Person {name: "Silly Meitner"})
  MATCH (p2:Person {name: "Romantic Curran"})
  CREATE (p1)-[:BADGED {title: "Team Player", text: "Exercitation anim minim magna nostrud elit fugiat voluptate fugiat.", unixtime: 1480572000000, date: "2016-12"}]->(p2)
These are different from the statements in the introduction above, in that they use MERGE
instead of CREATE. MERGE causes neo4j to check for previous nodes before creating new ones.
Because I generated Cypher statements per line of the spreadsheet, MERGE gives insurance that
neo4j won’t create duplicate Person nodes if someone gives more than one badge or receives
more than one. This dataset is small enough that the overhead of using MERGE is minimal. On
larger graphs, it’s a better idea to ensure there is no duplicate data before loading.
The generated Cypher file has all of the MERGE (:Person ...) statements followed by the
MATCH ... MATCH ... CREATE (p1)-[...]->(p2) statements.
If you want to follow along at home, you can download this Cypher file here.
Loading into neo4j #
I’m running a local copy of neo4j on my laptop. You can download it here.
I modified the configuration by increasing the stack size with dbms.jvm.additional=-Xss2M (to increase the JVM stack size)
and dbms.security.auth_enabled=false (to disable authentication, since this is just a one-off example)
in the configuration file.
Because I’m really high tech, I use the ‘copy and paste into the neo4j dashboard’ technique
of loading data. At the end of this post I’ll cover better options. For now, this requires a little bit of a
workaround
in the Cypher statements that are copied and pasted. I inserted the WITH count(*) AS dummy
after each MATCH ... MATCH ... CREATE (p1)-[...]->(p2) statement except the last one.
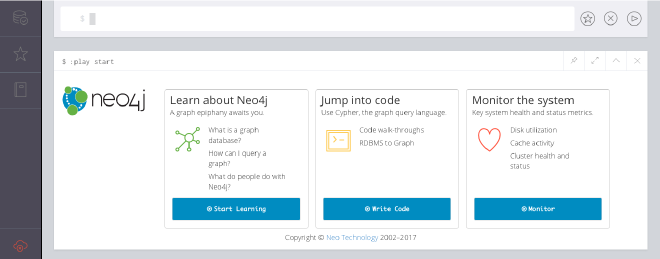
With that out of the way, I loaded the browser interface to neo4j (http://localhost:7474/ by default):
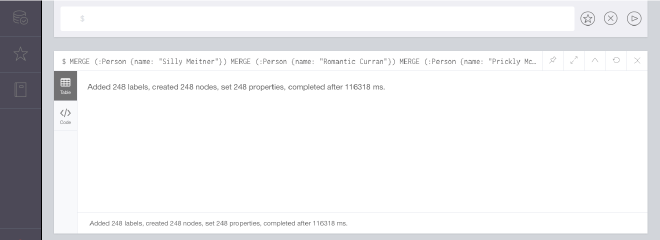
As mentioned, I’m going to copy and paste the contents of my Cypher file into the browser interface to load the data,
starting with the MERGE (:Person ...) lines:

This will take a moment. Pause and reflect on how great these Docker container employee names are.
When all of the Person nodes have been loaded, neo4j will tell you:
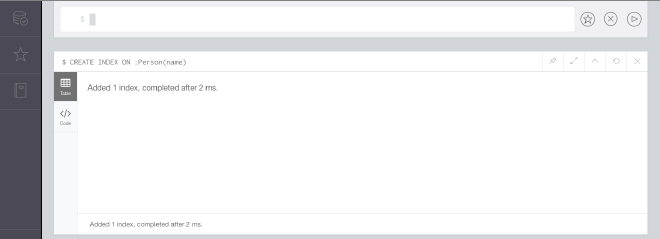
Now I create an index on the name attribute of the Person label with CREATE INDEX ON :Person(name):
Now I load the relationships. This will also take a moment:
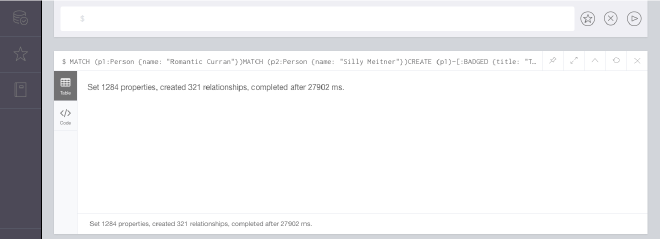
At this point, all of the data has been loaded into neo4j.
Running a query #
Finally, we can run some queries against neo4j and try to gain some insight into our data.
My favorite shows all of the relationships in a large visualization. To do this, run the following query:
MATCH (p1)-[r:BADGED]->(p2) RETURN p1, r, p2
Like in the earliy MATCH ... MATCH ... statements, the first half of this statement serves to establish a pattern
and bind the variables p1, r, and p2 to nodes and relationships that fit the pattern. The second half tells
neo4j to return the matching nodes and relationships. In the browser:
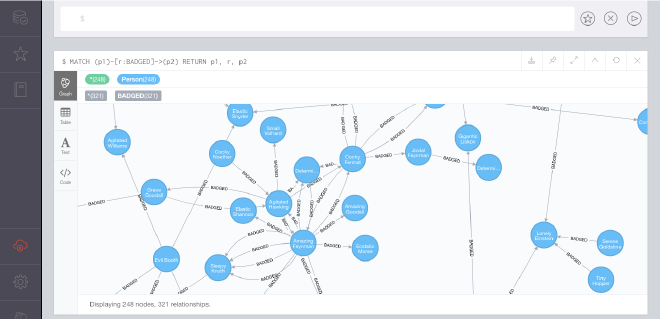
There are a couple things going in this picture. First, the Graph, Table, Text, and Code tabs along the left of the result card give us different ways of viewing the result of the query. Second, the options along the top right of the card let us export the resulting graph as a PNG or SVG file, pin the card, expand it, etc. Clicking on the expand icon:
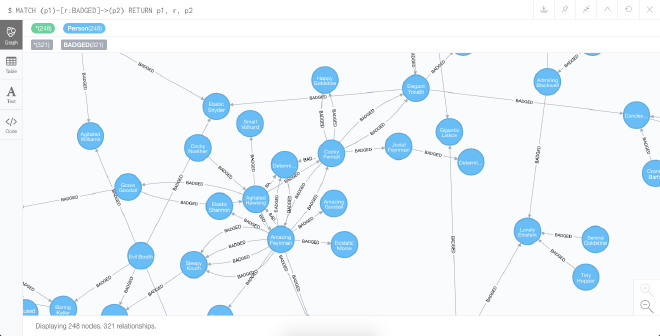
The buttons on the bottom right let me zoom in and out. Zooming out, we can see some very interesting things:
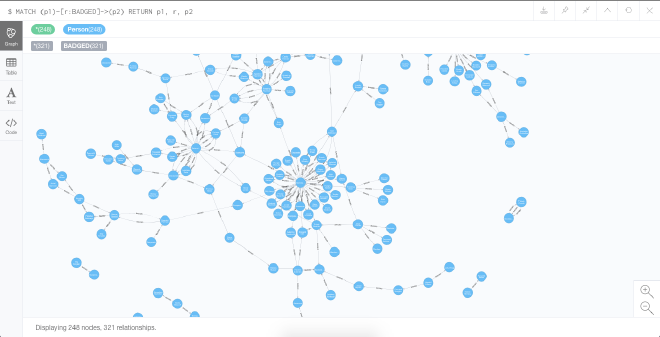
There are clusters around some employees. Taking a peak at the not-obfuscated data, I see that these people are team leads or managers and the nodes around them are other members of their teams.
Another query #
One of the original questions I wanted to answer when I began this project was: How much reciprocation is there in this bading program? That is, how many instances are there of employees badging the employee who just badged them? neo4j can tell us this very easily:
MATCH (p1)-[r:BADGED]->(p2)-[:BADGED]->(p1) RETURN p1, r, p2
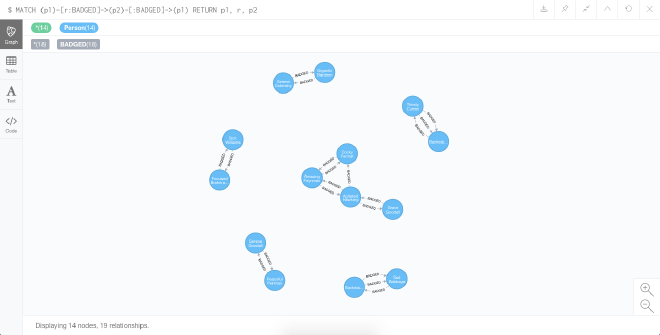
Not that many!
Retrospective #
There are better ways of loading large amounts of data into neo4j. There is a built-in support for working with CSV files and building patterns of Cypher statements that map to columns of the CSV files. You can learn about this here.
In the future, I’d like to revisit this project and build a larger application around it for ingesting new data and delivering visualizations and insights in a more intuitive way. This little project only scratches the surface of neo4j. Stay tuned!